19. Adding Image
Adding Image
Question:
Start Quiz:
Solution:
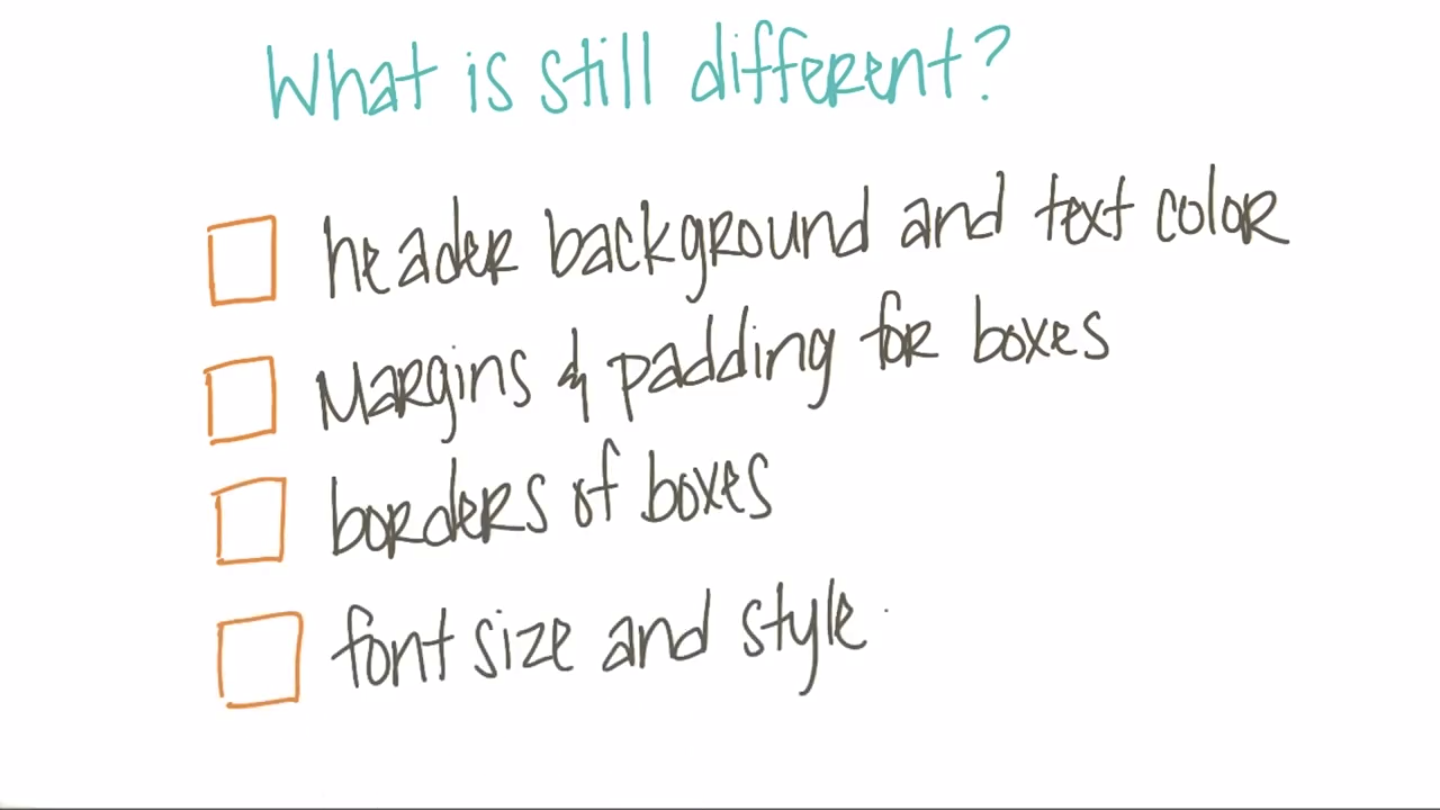
All of these things except for borders still need improving to look exactly like the design mock.
Press "Next" to learn about the powerful routine you can use when continuing to improve the page.
INSTRUCTOR NOTE:
You can download the sample image here and the mockup PDF [here](https://www.udacity.com/api/nodes/2890318656/supplemental_media/mock1-fav-apppdf/download?_ga=1.231106904.672083044.1467344711 target="_blank"). (If the image opens in a new web page or tab you can right+click or option+click the image to save it.) When saving be sure to save the file in the images directory you created in your toplist project directory. You can also use your own image if you wish.
Adding an alt attribute is as simple as changing your code to:
<img src="images/app.png" alt="This is a screenshot">In the previous video, Jessica added the CSS rule display: flex to element.style, which adds the CSS directly to the div element on the left-hand side of the development tools. In this and future videos, this CSS rule is in the main CSS file, style.css:
.app {
    display: flex;
}
This rule as-is works with Chrome 29+, IE 11+, and Mozilla 28+. In order to support Safari, the -webkit- prefix must be added:
.app {
    display: -webkit-flex;
    display: flex;
}
You can compare your web page to the mockup PDF here to see what is still different. (Note that the color boxes and code on the left of the mockup PDF are for reference only and are not intended to be part of your web page structure.)